# 刷机
手机选择 nexus 5
# 刷机包下载 (不同手机有不同的镜像):
https://developers.google.com/android/images#bullhead
选择版本 OPM1.171019.011, Dec 2017
https://source.android.com/setup/start/build-numbers#source-code-tags-and-builds
pixel 8.0.0 貌似会使得后面用 frida 有小问题
https://developers.google.cn/android/images
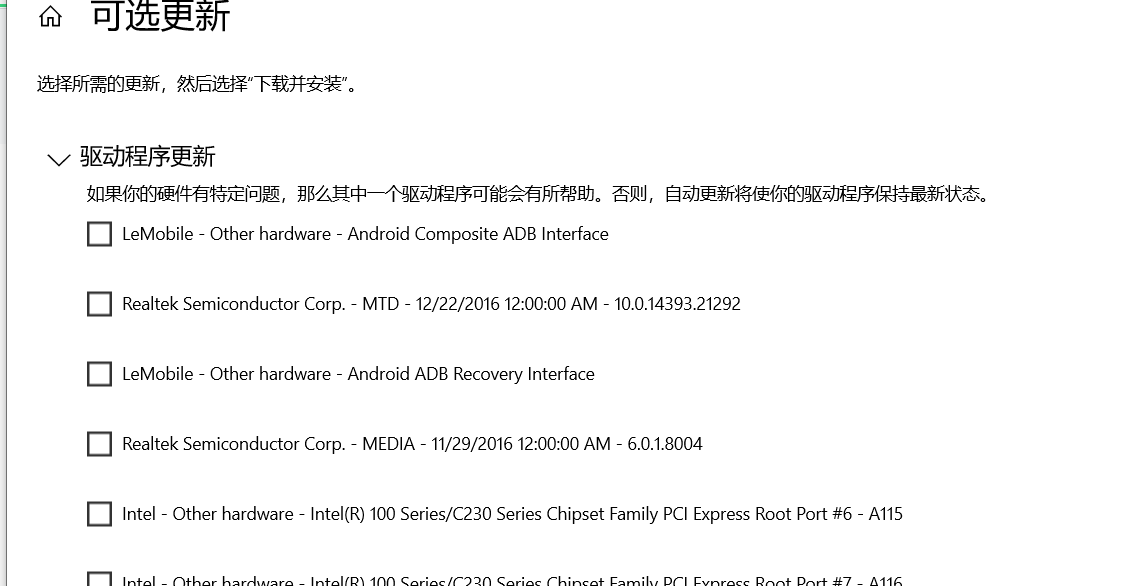
# 电脑驱动更新
**win10 需要更新 google usb driver **
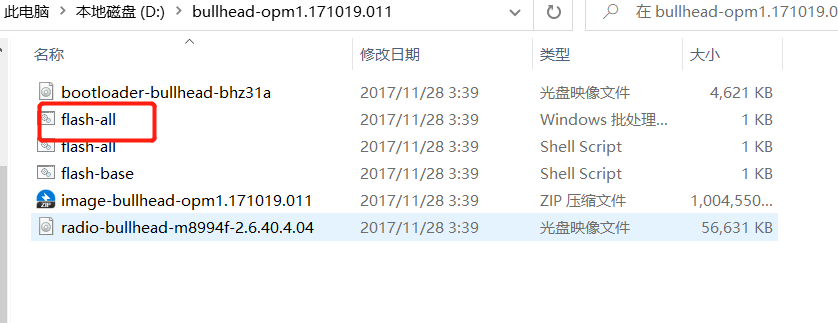
然后到 bootloader 界面直接运行

即可
时间同步
adb shell settings put global captive_portal_http_url https://www.google.cn/generate_204

adb shell settings put global captive_portal_https_url https://www.google.cn/generate_204

adb shell settings put global global ntp_server 1.hk.pool.ntp.org

adb shell reboot
# ROOT
参考文兄的 http://blog.wen2go.site/2021/12/03/20211203/
去下一个 TWRP 镜像,
然后用 fastboot flash recovery twrp 镜像推送镜像 ,然后从 bootloaders 界面进去 recovery 分区,安装 twrp
https://github.com/topjohnwu/Magisk/releases/tag/v20.4
nexus5 和 pixel2 xl 的方式不同,pixel2 不自带 recovery 分区,需要先刷临时分区。
// 刷入临时镜像 | |
fastboot flash boot twrp-3.6.0_9-0-taimen.img | |
//重启后进入twrp | |
fastboot reboot | |
// 乱码要格式化dataf | |
adb push twrp-installer-3.6.0_9-0-taimen.zip /sdcard/ | |
adb push Magisk-v20.4.zip /sdcard/ |
下载 magisk 包
然后通过 adb push Magisk-v20.4.zip/sdcard/ 推送到手机上
这里 sdcard 指代的是默认目录。
然后通过 twrp 的 install 找到传输过来的 zip 进行安装。
对于 pxel 需要安装完永久的 twrp 后,点击上面的按钮在安装 magisk

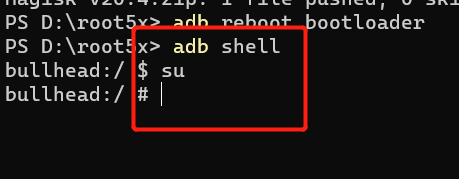
adb shell 连接手机,su 是进入 root 权限.
pixel2 分区在输入 magisk 时貌似有兼容错误,
adb sideload Magisk-v20.0.zip。
# Frida 安装
# frida-serve 安装
下载对应版本的 frida-serve (14.1.3)
# 电脑端
直接 pip 安装 有点慢 会卡在 setup 处
然后安装 frida-tools 版本要对应
接着暗转 frida-server push 到手机上

